Tip!
The ability to Print Beverages immediately with Hold Print Function can also be utilised via the Table Map when the Yes/No Option Use Hold Print Function on Table Map is enabled.
Click here for details on how to configure this function for the Table Map.
Click here for details on how to use the Hold Print Function from the Table Map.
Before using this function, ensure that you have configured and enabled the Print Beverages immediately function - details on how to do this are outlined here.
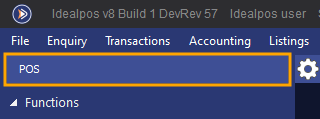
Go to the POS Screen by pressing the POS button on the top-left corner of the Back Office.
Add any Beverage Items to the sale and add any other non-Beverage Items to the sale.
Press the "Hold Print" button that would have been configured as part of the Hold Print Setup process (outlined here in the User Guide).
Enter an Order Number using the on-screen numeric keypad, then press "First Order".
"Hold Print #" (where # is the Order Number entered) will appear at the top of the sale window.
You may now Tender the sale by pressing the ENTER button on the POS Screen and taking payment.
After tendering, the Customer Receipt will be printed (if Receipt was enabled).
Beverage Items in the order will be printed to the Kitchen Immediately.
The non-beverage items will remain in the held order.
To print the non-beverage items to the Kitchen, press the "Held Orders" button at the top of the POS Screen.
Select the Order Number from the list, then select "Finalise & Print" to send the remaining unprinted items to the Kitchen.
The remaining unprinted items from the Held Order will now print to the Kitchen: